Almost every failed first aquarium fails the same way. The tank goes up on a Saturday, the fish go in on a Sunday, and by the following weekend the water is cloudy and something has died. Nothing about that sequence is bad luck. It is the predictable result of adding animals to a filter that cannot yet process their waste.
This guide is the hub for everything on the site about starting out. It walks the whole path in order, from the decision about which tank to buy through to the maintenance rhythm you will settle into after a few months, and links to the detailed guide for each stage. Read it once end to end before you buy anything, then come back to it as a checklist.
Stage 1: Choosing the tank
Tank size is the decision everything else depends on, and it is the one beginners most often get backwards. A larger volume dilutes waste, resists temperature swings, and gives you hours rather than minutes to react when something goes wrong. A small tank does the opposite. The five-gallon desktop cube marketed as a starter kit is genuinely harder to keep alive than a tank four times its size.
For most people the practical answer is a 20-gallon long. It is cheap, it fits on ordinary furniture, its wide footprint suits bottom-dwelling and shoaling fish, and it holds enough water to be forgiving. If space or budget forces something smaller, a 10-gallon is workable with discipline. Below that, treat it as a specialist project rather than a beginner one, and read the guide to nano aquariums before committing.
Two practical constraints are worth checking before purchase. A filled aquarium weighs roughly 10 pounds per gallon, so a 55-gallon tank plus stand is over 600 pounds concentrated on a small footprint. And the surface must be genuinely level, because an unevenly supported tank concentrates stress on one seam. The full breakdown of sizes, weights and what each realistically holds is in the guide to choosing the right aquarium size.
Stage 2: The equipment that actually matters
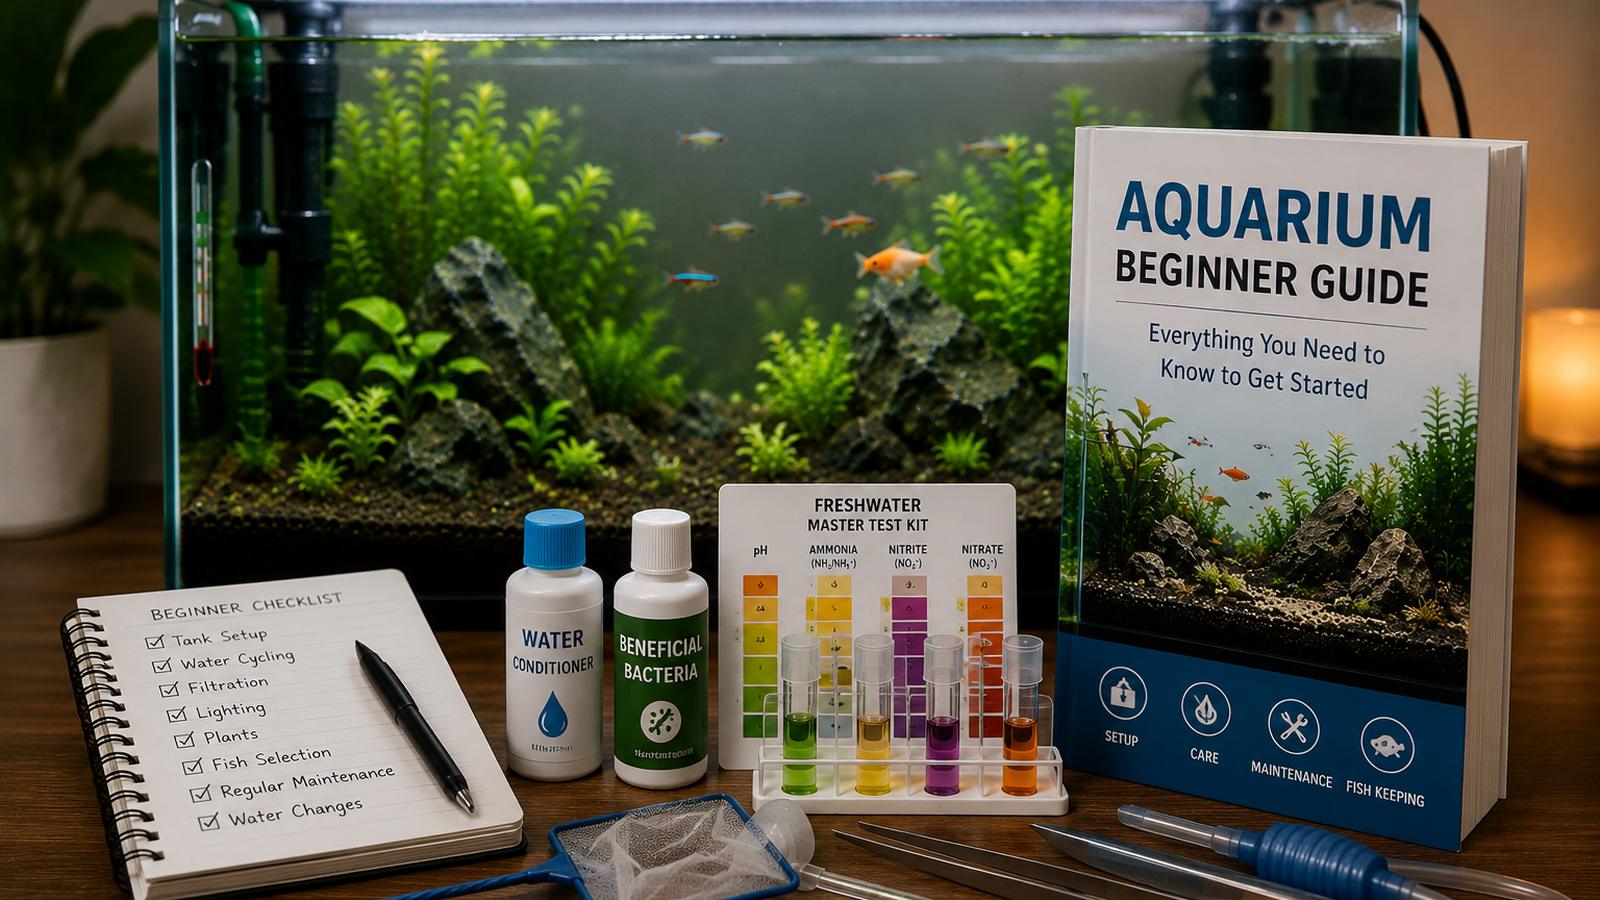
Aquarium retail is built around selling accessories, and it is easy to spend heavily on things that make no difference while missing something essential. The list below is what a first freshwater tank genuinely requires.
| Item | Why it matters | What to look for | Priority |
|---|---|---|---|
| Tank and stand | The system itself; stand must carry the filled weight | Level surface, load-bearing position | Essential |
| Filter | Houses the bacteria that process waste | Rated at or above tank volume; media you can rinse and reuse | Essential |
| Heater | Stability matters more than temperature itself | 3 to 5 watts per gallon; adjustable, with a guard | Essential |
| Separate thermometer | Heater dials drift and lie | Glass or digital; does not need to be expensive | Essential |
| Substrate | Surface for bacteria, rooting for plants | Sand or smooth gravel; avoid sharp material | Essential |
| Light | Needed for plants, useful for viewing | Simple LED on a timer; brightness is not the goal | Essential |
| Dechlorinator | Chlorine and chloramine kill filter bacteria and damage gills | Any reputable conditioner that treats chloramine | Essential |
| Liquid test kit | The only way to know whether the tank is safe | Liquid reagent, not strips | Essential |
| Siphon or gravel vacuum | Water changes and substrate cleaning | Sized to the tank; longer tube than you think | Essential |
| Buckets | Dedicated, never used for cleaning products | Two, clearly labelled | Essential |
| Air pump | Only needed for sponge filters or extra aeration | Optional in most setups | Optional |
| Decorations | Cover reduces stress; aesthetics are secondary | Aquarium-safe materials only | Optional |
Two items on that list are worth spending real money on. The filter is the biological heart of the tank, and a cartridge-based design that forces you to throw away the bacterial colony every month is a poor long-term buy. The guide to aquarium filtration covers the differences between hang-on-back, canister and sponge designs, and filter media types explains what to put inside one.
The test kit is the second. It costs less than a few fish and it is the difference between diagnosing a problem and guessing at it. Strips are convenient but too imprecise for the one job that matters most, which is confirming a cycle has actually finished.
Stage 3: Assembly and the first fill
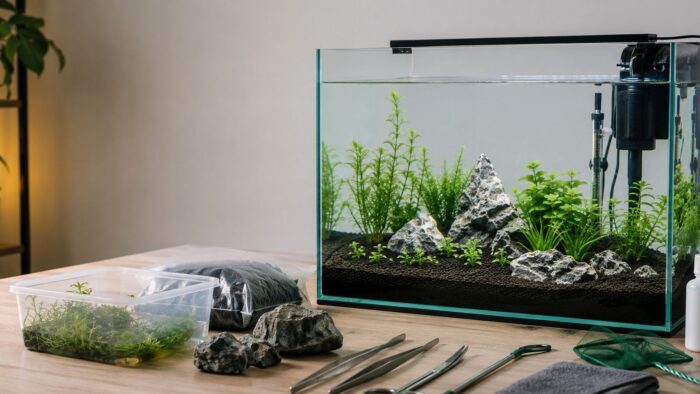
Set the tank up empty and dry first. Position the stand, check it with a spirit level in both directions, and place the tank without water. Once water goes in, moving it is a two-person job at best and a broken seam at worst.
Rinse substrate thoroughly in plain water until it runs clear, then add it to the empty tank. Place hardscape directly on the base glass rather than on top of substrate, so heavy pieces cannot settle and shift later. The guide to choosing and preparing driftwood and rocks covers how to test unknown materials for safety.
Fill slowly onto a plate or bowl to avoid cratering the substrate, treating the water with dechlorinator as you go. Then run the filter and heater for a full 24 to 48 hours before doing anything else. This is a leak test and an equipment test at the same time, and it is far better to discover a faulty heater on an empty tank than on one holding livestock.
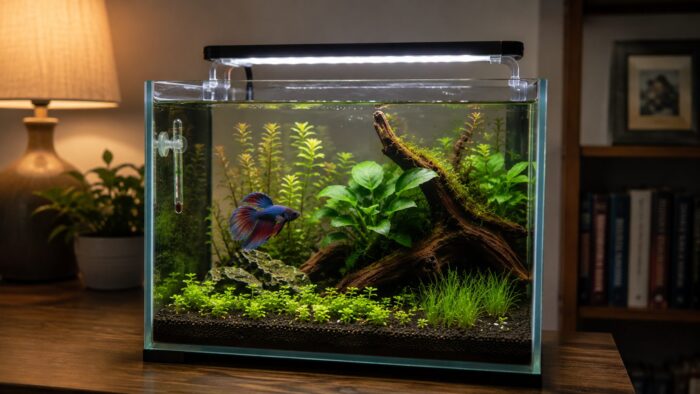
Live plants can go in at this point. Adding a large mass of fast-growing plants at setup genuinely helps, because they absorb ammonia and compete with algae during the tank’s most vulnerable months. The guide to the best beginner aquarium plants covers which species survive without CO2 or expensive lighting.
Stage 4: Cycling, the stage nobody wants to do
This is the step that separates tanks that work from tanks that do not. Fish release ammonia constantly. Ammonia is toxic at fractions of a part per million. In a mature aquarium, two groups of bacteria convert it first to nitrite and then to far less harmful nitrate. Those bacteria are not present in a new tank. Growing them takes two to six weeks.
The recommended method is a fishless cycle: dose pure ammonia to roughly 2 ppm in the empty, running tank, test daily, and re-dose whenever ammonia hits zero. Over several weeks nitrite appears and then clears, nitrate climbs, and eventually the tank processes a full 2 ppm ammonia dose to zero ammonia and zero nitrite within 24 hours. That 24-hour clearance is the definition of a cycled tank. The full procedure, including how to speed it up and what a stalled cycle looks like, is in the guide to cycling your first aquarium.
There is exactly one legitimate shortcut: seeding the filter with mature media from an established, healthy tank. A handful of gravel or a squeeze of filter sponge from a friend’s tank carries a living colony and can cut weeks off the process. Bottled bacteria products vary widely in effectiveness and none of them make cycling instant.
If fish are already in the tank because the shop sold them alongside it, the situation is a fish-in cycle. Stop adding livestock, feed sparingly, test daily, and change water whenever ammonia or nitrite is detectable. The linked cycling guide covers this scenario in detail.
Stage 5: Stocking without crashing the tank
Plan the full stocking list before buying the first fish. Working it out in the shop, in front of a display of appealing juveniles, is how people end up with a common pleco that reaches 18 inches in a 20-gallon tank.
Two rules cover most of it. Stock for adult size rather than shop size, and keep shoaling species in genuine groups of six or more rather than token pairs. The old inch-per-gallon rule fails badly because it ignores body mass, waste output and territory; the guide to aquarium stocking sets out a method that works instead. For species that suit a first tank, the list of 10 best beginner freshwater fish is a reliable starting point.
Add stock in batches, never all at once. A cycled filter holds a colony sized to the ammonia it has been receiving, and dropping a full population into it at once outpaces that colony. A quarter of the planned stocking every two weeks lets the bacteria scale up alongside the bioload.
Two habits protect everything you have built. Acclimate new arrivals properly rather than tipping the bag in, following the method in the guide to acclimating new fish. And where possible, run new fish through a quarantine tank for four weeks, as described in the guide to quarantining new aquarium fish. Most disease outbreaks in established tanks arrive with an unquarantined fish.
Stage 6: The routine that keeps it alive
Once stocked, an aquarium needs surprisingly little attention, provided that attention is regular. The whole weekly commitment for a typical community tank is under half an hour.
| Frequency | Task | Time |
|---|---|---|
| Daily | Feed once or twice, count fish, check heater and filter are running | 2 minutes |
| Weekly | 25 percent water change, vacuum a third of the substrate, clean front glass | 20 to 30 minutes |
| Weekly | Test ammonia, nitrite and nitrate for the first three months | 5 minutes |
| Fortnightly | Rinse mechanical filter media in removed tank water | 5 minutes |
| Monthly | Trim plants, check flow rate, inspect cords and drip loops | 15 minutes |
| Quarterly | Clean impeller and intake, replace worn mechanical media | 20 minutes |
The single most important habit is the water change. It exports nitrate, replaces trace minerals, and keeps problems small enough to notice before they become emergencies. The guide to doing a proper water change covers technique, and cleaning without stressing your fish explains what not to clean, which matters just as much.
Feeding is where most beginners go wrong after setup. Feed what the fish finish in about two minutes, once or twice a day, and remove anything left. The guide to what to feed your fish covers food types and portions in detail.
What to expect in the first six months
New tanks pass through predictable phases, and knowing them in advance prevents a lot of unnecessary intervention.
Cloudy water in the first fortnight is a bacterial bloom. It clears by itself. Water changes and filter cleaning prolong it rather than fixing it.
Brown dust on the glass and substrate at around week three to eight is diatoms, feeding on silicates leaching from new substrate. It runs its course and disappears permanently. Wipe the glass if you like, but do not strip the tank.
Green algae appearing at two to four months usually means the photoperiod is too long or the light too bright for the plant mass present. Shorten the light period before changing anything else. The guide to why your aquarium has algae identifies the common types and what each one indicates.
Plants melting after planting, particularly cryptocorynes, is normal transplant shock. Leave the roots alone and new growth follows within a few weeks.
What is not normal at any stage: detectable ammonia or nitrite in a tank that was cycled, fish gasping at the surface, or several fish dying within a short period. Each of those points to a specific fault, and the guide to lowering ammonia, nitrite and nitrate covers the triage.
First aquarium questions
How much does a first aquarium actually cost?
For a 20-gallon setup, expect the tank, stand, filter, heater, light, substrate, test kit and consumables to come to roughly the cost of a mid-range phone, spread across the first month. Fish and plants are a small fraction of that. The most common budgeting error is spending heavily on decor and a starter kit filter, then having to replace the filter within a year.
Can I use water from an established tank to skip cycling?
No. The bacteria live on surfaces, mainly filter media and substrate, not floating in the water column. Transferring water achieves almost nothing. Transferring a piece of mature filter sponge or a cup of established gravel achieves a great deal.
Do I need live plants?
Not strictly, but they help more than most beginners expect. Fast-growing plants absorb ammonia and nitrate, compete with algae for nutrients, and provide cover that visibly reduces stress in shy species. A handful of undemanding species costs very little and makes the first year easier.
How do I know if the fish I want will get along?
Check adult size, temperament and water requirements for every species before buying, and be suspicious of any shop advice that puts fish together purely because they were in adjacent tanks. Size mismatches and territorial species cause most community problems.
What is the single most common beginner mistake?
Adding fish before the tank is cycled, followed closely by overfeeding. Both are entirely avoidable and both cause the majority of first-year losses.
Slow setup is the shortest route to a stable tank
The whole process comes down to a sequence: choose a tank large enough to be forgiving, buy the equipment that matters and skip what does not, assemble and test it empty, cycle the filter until it clears ammonia and nitrite in a day, then stock slowly and settle into a weekly routine.
The month spent cycling is the part everyone wants to skip and the part that determines everything afterward. Tanks that get it right rarely have serious problems again. Tanks that skip it spend their first year in crisis management. Start with the guide to cycling your first aquarium and work forward from there.